

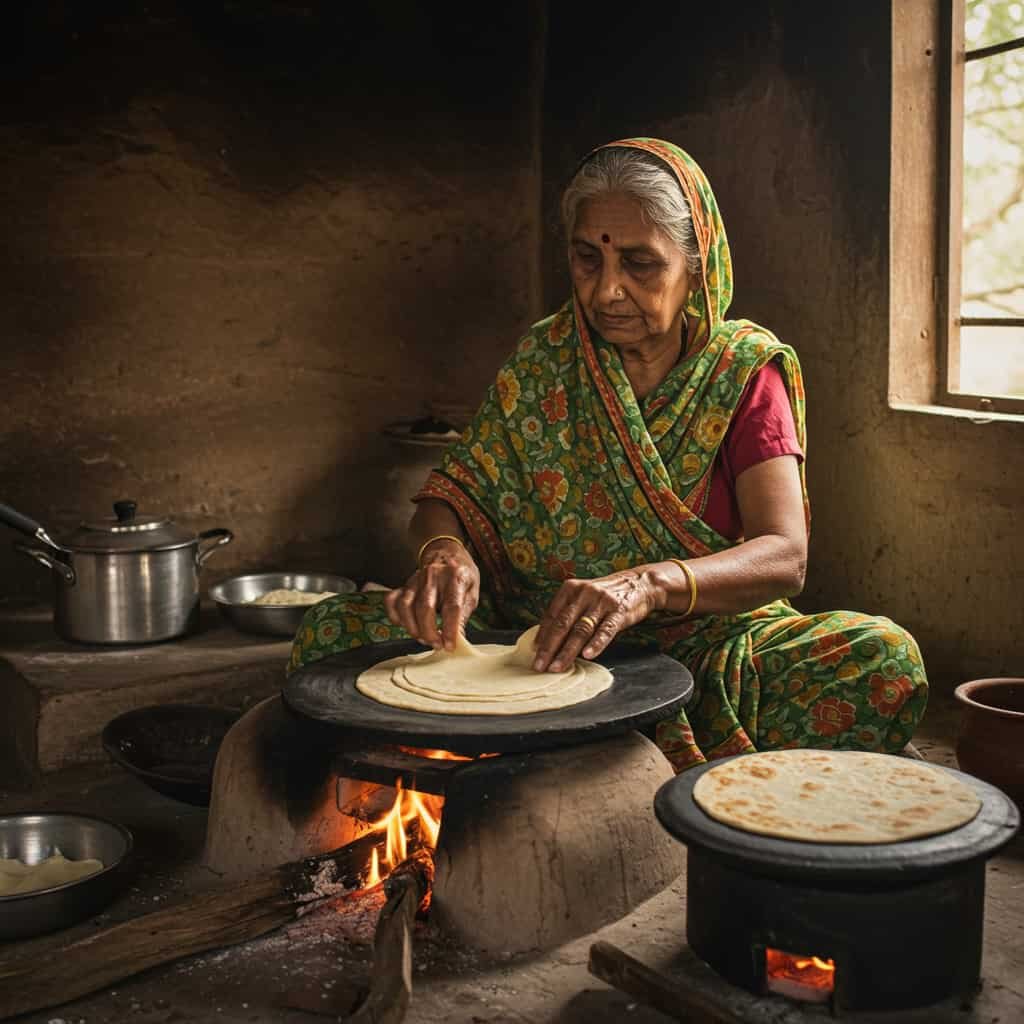
There’s nothing quite like the comfort of warm, pillowy soft and fluffy roti fresh off the tawa. This staple flatbread from the Indian subcontinent is deceptively simple, yet achieving that perfect airy texture requires technique. Forget dense, rubbery roti – follow this authentic recipe for cloud-like results every time!
Why This Fluffy Roti Recipe Works
Unlike store-bought versions, homemade roti uses no preservatives and develops delicate layers through proper kneading, resting, and rolling. The secret? Trapped steam creates pockets that make the roti balloon – a sign of perfect fluffiness!
Troubleshooting Common Issues
-
Not puffing? Dough may be too dry or rolled unevenly.
-
Hard roti? Overcooking or insufficient kneading.
-
Burning spots? Reduce heat or flip faster.
Why Homemade Roti Wins
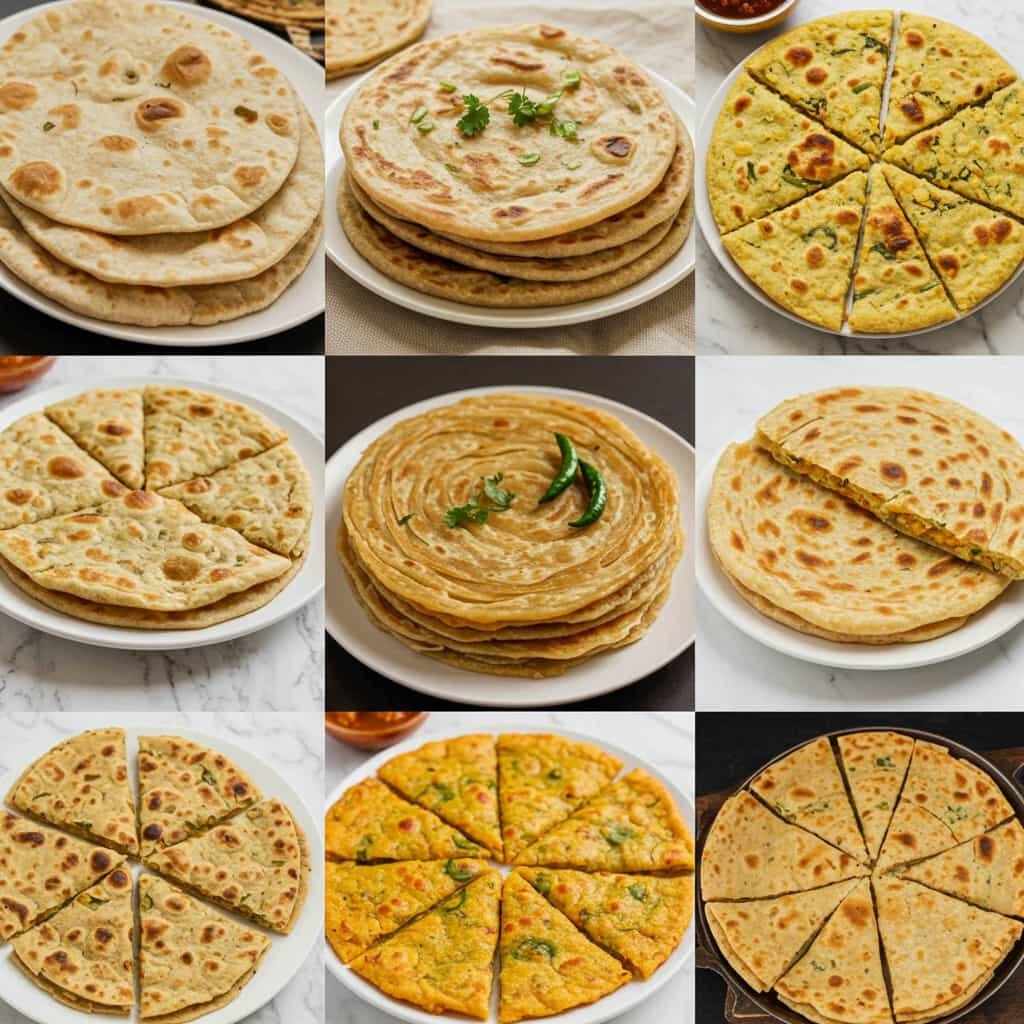
Unlike naan which uses yeast, roti relies solely on technique. Its simplicity makes it a daily bread across South Asia. Plus, it’s vegan-friendly and packed with fiber from whole wheat!
Master this fundamental skill, and you’ll unlock endless meal combinations. Craving more authentic recipes? Explore our curated guides at InFoodBlog, where tradition meets modern kitchens!
Total Time: 50 minutes (incl. resting)
Difficulty: Beginner-friendly
Dietary Notes: Vegan (if ghee omitted)
5 Health Benefits of Homemade Soft & Fluffy Roti
🌾 1. Whole Grain Goodness
Made with 100% whole wheat flour (atta), roti retains the bran and germ – packed with B vitamins, iron, magnesium, and zinc. Unlike refined flour, it helps:
-
Stabilize blood sugar levels
-
Improve digestion
-
Reduce risk of heart disease (Source: Harvard Health)
🚫 2. Zero Preservatives & Additives
Commercial flatbreads often contain dough conditioners and shelf-life extenders. Homemade versions eliminate:
-
Artificial preservatives (like calcium propionate)
-
Bleaching agents
-
Trans fats
🌿 3. High Fiber Content
Each roti delivers 2-3g of dietary fiber (12% of daily needs):
-
Promotes gut health
-
Enhances satiety (aids weight management)
-
Lowers cholesterol (NIH Study)
🌱 4. Vegan-Friendly Flexibility
Naturally plant-based when made without ghee:
-
Uses just flour + water + salt
-
Provides complex carbs for sustained energy
-
Lower calorie than oil-fried breads (105 kcal vs. 250+ in paratha)
🩺 5. Blood Sugar Control
With a low glycemic index (GI 35-45), roti digests slowly:
-
Prevents insulin spikes
-
Ideal for diabetics (when portion-controlled)
-
Outperforms white rice (GI 73) or naan (GI 71) (Glycemic Index Foundation)
In a bowl, mix flour and salt. Gradually add warm water while mixing. Once combined, knead vigorously for 10 minutes until smooth and pliable. If using oil, incorporate it halfway. Pro Tip: Cover dough with a damp cloth and rest for 30 minutes. This relaxes gluten for easier rolling. Divide dough into 8 equal balls. Flatten each into a disc. Generously dust with flour and roll into 6-inch circles. Rotate constantly to maintain even thickness. Key Step: Avoid over-flouring! Excess flour burns on the tawa. Heat tawa over medium-high heat. Place rolled roti on it. Flip when bubbles appear (15-20 seconds). Cook the other side until light brown spots form. Using tongs, directly flame-cook the roti until it puffs fully (5 seconds). Move constantly to avoid burning. Expert Hack: Press edges gently with a cloth to encourage puffing. Brush with ghee if desired. Stack rotis in a cloth-lined container to retain steam and softness. Serve hot with curries, lentils, or vegetable dishes from our collection! Water Temperature: Warm water (not hot!) activates gluten optimally. Kneading Time: 10 minutes is non-negotiable for elasticity. Resting: Never skip the 30-minute rest – it prevents shrinkage while rolling. Heat Control: Medium-high heat ensures quick puffing without drying. Moisture Lock: The cloth container keeps rotis soft for hours.
Ingredients
Instructions
Step-by-Step Instructions
1. Knead the Perfect Dough
2. Shape & Roll Like a Pro
3. Master the Cooking Technique
4. Rest & Serve
5 Tips for Flawless Roti
